
Introduction
Hangfire is a powerful library that simplifies background job processing in .NET applications. It allows you to run tasks like sending emails, processing data, or performing scheduled tasks without blocking the main application thread. One of its most useful features is the Hangfire Dashboard, which offers an interface to monitor and control background jobs. However, securing access to this dashboard is crucial, especially in production environments.
In this article, we’ll walk through:
- How to create a REST API in .NET 8 from scratch.
- How to configure Hangfire in the API.
- Two implementations of secure access to the dashboard using:
- JWT Token stored in a cookie for subsequent requests.
- Bearer Token authentication.
By the end, you’ll have a fully functioning API with a secured Hangfire dashboard.
In addition, we’ll take a look about how to run those background jobs:
- Managing job prioritization by organizing jobs into different queues.
- Enqueuing and scheduling tasks to run immediately or at a specific time.
Step 1: Creating a REST API in .NET 8
Let’s start by creating a basic API using .NET 8.
1.1 Using Visual Studio
- Open Visual Studio and select «Create a new project».
- Choose ASP.NET Core Web API as the template.
- Configure the project name, location, and ensure .NET 8 is selected as the framework.
1.2 Using the CLI
Alternatively, you can use the .NET CLI to create your API project:
dotnet new webapi -n HangfireDemoApiThis command creates a basic Web API project named HangfireDemoApi.
1.3 Running the API
To ensure your API is working correctly, navigate to the project folder and run the following command:
dotnet runOnce the API is running, you should see it available at https://localhost:{port}/swagger, which will display the Swagger UI for API interaction.
Step 2: Configuring Hangfire in .NET 8
Now that we have a basic API, it’s time to integrate Hangfire for background processing.
2.1 Installing Hangfire
First, add the Hangfire package using NuGet Package Manager or the CLI:
dotnet add package Hangfire
dotnet add package Hangfire.AspNetCore
In addition, we need to add one of the following Nuget packages for Hangfire storage. However we use Memory for this example.
dotnet add package Hangfire.MemoryStorage
dotnet add package Hangfire.SqlServer
dotnet add package Hangfire.PostgreSql
2.2 Configuring Hangfire in Program.cs
Open your Program.cs file and configure Hangfire to use an in-memory storage, SQL Server or whatever other storage:
using Hangfire;
using Hangfire.MemoryStorage;

var builder = WebApplication.CreateBuilder(args);

builder.Services.AddEndpointsApiExplorer();
builder.Services.AddSwaggerGen();

builder.Services.AddHangfire(config => config.UseMemoryStorage());
builder.Services.AddHangfireServer();

var app = builder.Build();

app.UseHangfireDashboard();

if (app.Environment.IsDevelopment())
{
    app.UseSwagger();
    app.UseSwaggerUI();
}

app.UseHttpsRedirection();

app.MapGet("/", () => "Hello, Hangfire!")
    .WithName("Greetings")
    .WithOpenApi();

app.Run();
This enables the Hangfire Dashboard at /hangfire and sets up the background processing server.
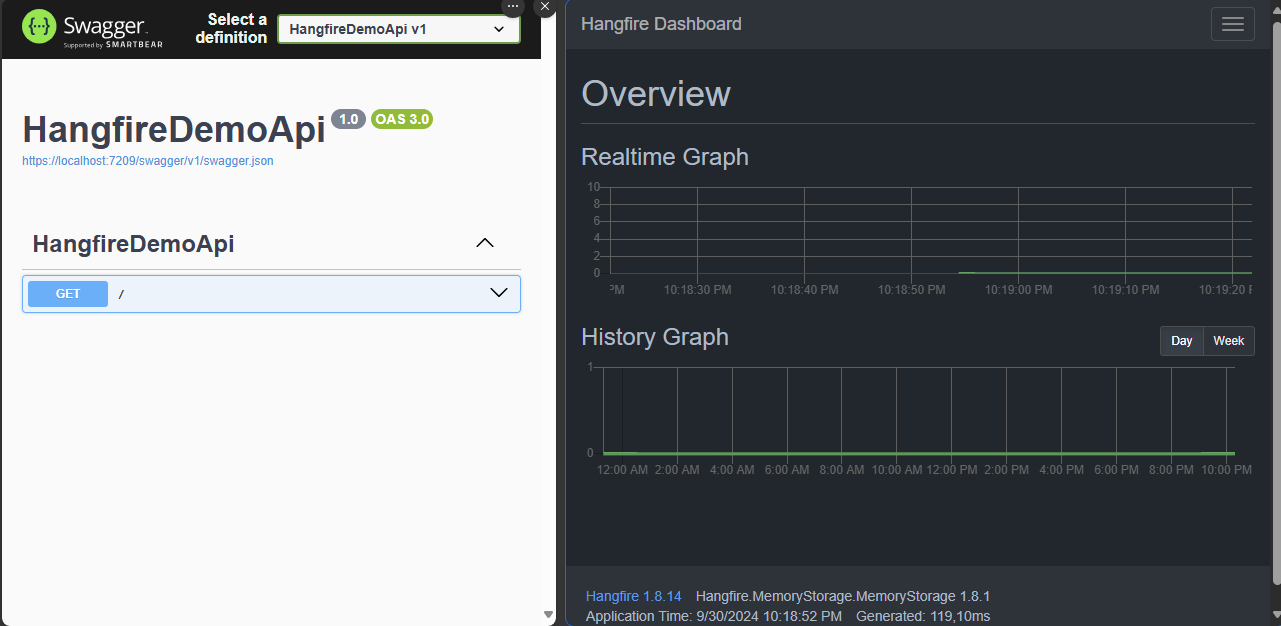
2.3 Testing the Dashboard
Run the API and navigate to https://localhost:{port}/hangfire. You should now see the Hangfire dashboard where you can monitor background jobs.
At this point, anyone can access the dashboard, so let’s secure it.
Step 3: Securing the Hangfire Dashboard
We’ll implement two authentication strategies for securing the Hangfire dashboard: one using JWT Token stored in a cookie in a GET HTTP method, and the other using Bearer Token in a POST HTTP method.
3.1 Authentication with JWT Token Stored in a Cookie
In this approach, we’ll allow a user to pass a JWT Token via the URL. The token will be validated and then stored in a cookie for subsequent requests to the dashboard.
3.1.1 Implementing IDashboardAuthorizationFilter
First, create a custom class that implements IDashboardAuthorizationFilter:
public classCookieAuthorizationFilter(IOptions<ApiAuthenticationSettings>? options)
: IDashboardAuthorizationFilter
{
private const string JwtTokenQuery = "jwt_token";
private const string PathCookie = "/hangfire";
private const string HangFireCookie = "_hangfireCookie";
private const string AdminRole = "admin";
private HttpContext? httpContext;
public bool Authorize(DashboardContext context)
{
string? jwtToken;
this.httpContext = context.GetHttpContext();
if (this.httpContext.Request.Query.ContainsKey(JwtTokenQuery))
{
jwtToken = this.httpContext.Request.Query[JwtTokenQuery].FirstOrDefault();
if (jwtToken != null)
{
this.SetCookie(jwtToken, PathCookie);
}
}
else
{
jwtToken = this.httpContext.Request.Cookies[HangFireCookie];
}
if (String.IsNullOrWhiteSpace(jwtToken))
{
return false;
}
return this.ValidateToken(jwtToken, out ClaimsPrincipal? claimsPrincipal) &&
IsUserAdmin(claimsPrincipal);
}
private void SetCookie(string jwtToken, string path = "/")
{
this.httpContext?.Response.Cookies.Append(HangFireCookie,
jwtToken,
new CookieOptions()
{
Expires = DateTime.Now.AddMinutes(30),
Path = path
});
}
private bool ValidateToken(string token, out ClaimsPrincipal? claimsPrincipal)
{
var tokenHandler = new JwtSecurityTokenHandler();
try
{
var validationParameters = this.GetValidationParameters();
claimsPrincipal = tokenHandler.ValidateToken(token, validationParameters,
out var validatedToken);
return validatedToken is JwtSecurityToken jwtToken &&
jwtToken.Header.Alg.Equals(SecurityAlgorithms.HmacSha256,
StringComparison.InvariantCultureIgnoreCase);
}
catch (Exception)
{
claimsPrincipal = null;
return false;
}
}
private TokenValidationParameters? GetValidationParameters()
{
if (options is null)
{
return null;
}
return new TokenValidationParameters
{
ValidateIssuer = true,
ValidateAudience = true,
ValidateLifetime = true,
ValidateIssuerSigningKey = true,
ValidIssuer = options.Value.Issuer,
ValidAudience = options.Value.Audience,
IssuerSigningKey =
new SymmetricSecurityKey(Encoding.UTF8.GetBytes(options.Value.Secret))
};
}
private static bool IsUserAdmin(ClaimsPrincipal? claimsPrincipal)
{
if (claimsPrincipal is null)
{
return false;
}
var roleClaim = claimsPrincipal.FindFirst(ClaimTypes.Role);
return roleClaim != null &&
roleClaim.Value.Equals(AdminRole, StringComparison.OrdinalIgnoreCase);
}
}
3.1.2 Enabling the CookieAuthorizationFilter
Next, modify the Hangfire dashboard setup in Program.cs to use this filter:
app.UseHangfireDashboard("/hangfire", new DashboardOptions
{
    Authorization = new[] { new CookieAuthorizationFilter() }
});
3.2 Authentication with Bearer Token
The second approach involves passing a Bearer Token in the Authorization header for every request to the Hangfire dashboard.
3.2.1 Implementing Bearer Token Authorization
Create a class for Bearer Token authentication:
public classBearerAuthorizationFilter(IOptions<ApiAuthenticationSettings>? options)
: IDashboardAuthorizationFilter
{
private const string JwtTokenQuery = "jwt_token";
private const string PathCookie = "/hangfire";
private const string HangFireCookie = "_hangfireCookie";
private const string AdminRole = "admin";
private HttpContext? httpContext;
public bool Authorize(DashboardContext context)
{
string? jwtToken;
this.httpContext = context.GetHttpContext();
if (this.httpContext.Request.Query.ContainsKey(JwtTokenQuery))
{
jwtToken = this.httpContext.Request.Query[JwtTokenQuery].FirstOrDefault();
if (jwtToken != null)
{
this.SetCookie(jwtToken, PathCookie);
}
}
else
{
jwtToken = this.httpContext.Request.Cookies[HangFireCookie];
}
if (String.IsNullOrWhiteSpace(jwtToken))
{
return false;
}
return this.ValidateToken(jwtToken, out ClaimsPrincipal? claimsPrincipal) &&
IsUserAdmin(claimsPrincipal);
}
private void SetCookie(string jwtToken, string path = "/")
{
this.httpContext?.Response.Cookies.Append(HangFireCookie,
jwtToken,
new CookieOptions()
{
Expires = DateTime.Now.AddMinutes(30),
Path = path
});
}
private bool ValidateToken(string token, out ClaimsPrincipal? claimsPrincipal)
{
var tokenHandler = new JwtSecurityTokenHandler();
try
{
var validationParameters = this.GetValidationParameters();
claimsPrincipal = tokenHandler.ValidateToken(token, validationParameters,
out var validatedToken);
return validatedToken is JwtSecurityToken jwtToken &&
jwtToken.Header.Alg.Equals(SecurityAlgorithms.HmacSha256,
StringComparison.InvariantCultureIgnoreCase);
}
catch (Exception)
{
claimsPrincipal = null;
return false;
}
}
private TokenValidationParameters? GetValidationParameters()
{
if (options is null)
{
return null;
}
return new TokenValidationParameters
{
ValidateIssuer = true,
ValidateAudience = true,
ValidateLifetime = true,
ValidateIssuerSigningKey = true,
ValidIssuer = options.Value.Issuer,
ValidAudience = options.Value.Audience,
IssuerSigningKey =
new SymmetricSecurityKey(Encoding.UTF8.GetBytes(options.Value.Secret))
};
}
private static bool IsUserAdmin(ClaimsPrincipal? claimsPrincipal)
{
if (claimsPrincipal is null)
{
return false;
}
var roleClaim = claimsPrincipal.FindFirst(ClaimTypes.Role);
return roleClaim != null &&
roleClaim.Value.Equals(AdminRole, StringComparison.OrdinalIgnoreCase);
}
}
3.2.2 Enabling the BearerAuthorizationFilter
Modify the Hangfire dashboard configuration to use the Bearer token authorization:
app.UseHangfireDashboard("/hangfire", new DashboardOptions
{
    Authorization = new[] { new BearerAuthorizationFilter() }
});
Now, requests to /hangfire must include the Authorization header with a valid Bearer token.
You can test it using Postman or other tools previously doing a GET or a POST respectively to your Auth Server to get the Access Token.
Step 4: Enqueuing and Scheduling Jobs in Hangfire
Once Hangfire is configured and secured, you’ll want to enqueue or schedule jobs.
4.1 Enqueuing Jobs
Enqueue a job to be executed as soon as possible using.
app.MapPost("enqueue",
    () => BackgroundJob.Enqueue(() => Console.WriteLine("This job runs immediately!")));
4.2 Scheduling Jobs
To delay a job’s execution, use BackgroundJob.Schedule():
app.MapPost("schedule",
    () => BackgroundJob.Schedule(() => Console.WriteLine("This job runs delayed!"),
        TimeSpan.FromMinutes(5)));
4.3 Creating Recurring Jobs
For recurring tasks, use RecurringJob.AddOrUpdate():
RecurringJob.AddOrUpdate("daily-job",
    () => Console.WriteLine("This is a recurring daily job!"),
    Cron.Daily);
Step 5: Configuring Multiple Queues for Job Prioritization
When managing background jobs of varying importance, Hangfire allows us to define multiple queues.
5.1 Setting Up Multiple Queues
Modify Program.cs to set up two queues: default and critical.
builder.Services.AddHangfireServer(options =>
{
    options.Queues = new[] { "critical", "default" }; // Two queues: critical and default
    options.WorkerCount = 2; // Number of workers processing the jobs
});
5.2 Enqueuing Jobs in Specific Queues
Default Queue:
BackgroundJob.Enqueue(() => Console.WriteLine("This job runs in the default queue!"));Critical Queue:
BackgroundJob.Enqueue(() => Console.WriteLine("This is a critical job!"), new EnqueuedState("critical"));5.3 When to Use Multiple Queues
- Critical Queue: For high-priority tasks such as system alerts, urgent notifications, or time-sensitive operations.
- Default Queue: For regular, less time-sensitive jobs like sending emails or generating reports.
By separating jobs into different queues, you can ensure that important tasks are not delayed by lower-priority ones.
Conclusion
In this guide, we configured Hangfire in a .NET 8 API, secured the Hangfire dashboard using JWT Tokens and Bearer Tokens, and demonstrated how to manage background jobs with multiple queues for job prioritization. Hangfire’s flexibility in managing background jobs ensures that your API remains responsive while handling intensive tasks asynchronously.
Happy coding !

2 comentarios sobre “How to Configure Hangfire in a .NET 8 API with Secure Dashboard Access and Job Prioritization”